
The argument in favor of using filler text goes something like this: If you use any real content in the Consulting Process anytime you reach.
How to Build a Sturdy Workbench for Tight Spaces

Why a small bench works harder than a big one
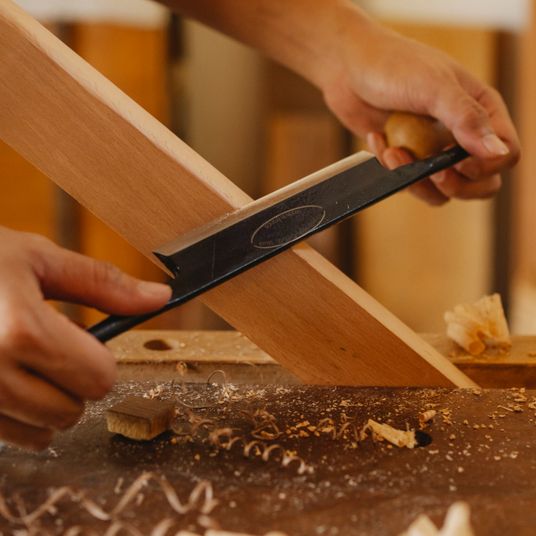
The classic woodworking bench is 2.4m long, and in a single garage it is a disaster. You cannot open the door, you cannot walk round it, and within a fortnight it has become a shelf for paint tins. A bench of 1200–1500mm long and 550–600mm deep, built with a genuinely thick top and a decent vice, will do almost everything a big one will do. Anything longer than the bench — a door, a long shelf, a sheet of ply — gets handled with sawhorses or a loose planing board laid on top. Working small forces tidy habits: you clear as you go, you put tools back, and you think before you cut.
The other advantage is rigidity per pound spent. A short, heavy bench with a deep apron and braced legs hardly ever racks or slides, even when you are hogging off a thick shaving with a No. 4.
Pick the spot and settle the height first
Put the bench where the light is best — usually along the wall with the window, never across the garage door unless you have measured the door swing and the car. If you can, leave a 75–100mm gap to the wall so you can clamp things over the back edge. If space is tighter still, push it flush and bolt the back legs to the wall; that single fix removes almost all sideways movement.
Height matters more than length. Stand up straight, let your arms hang loose, and your knuckles should brush the top. For most people that is 850–950mm. Then adjust for what you actually do:
- Mostly hand planing — go 50mm lower, so you can lean your weight through the stroke.
- Mostly assembly and power tools — go 25–50mm higher to save your back.
- A mix of both — build to the knuckle test and add a 50mm duckboard to stand on later. Raising your feet is easier than shortening legs.
Check the vice has room to spin its handle without hitting a wall, and that you can stand at the front and back of the bench with the door shut.
Materials: spend the money on the top
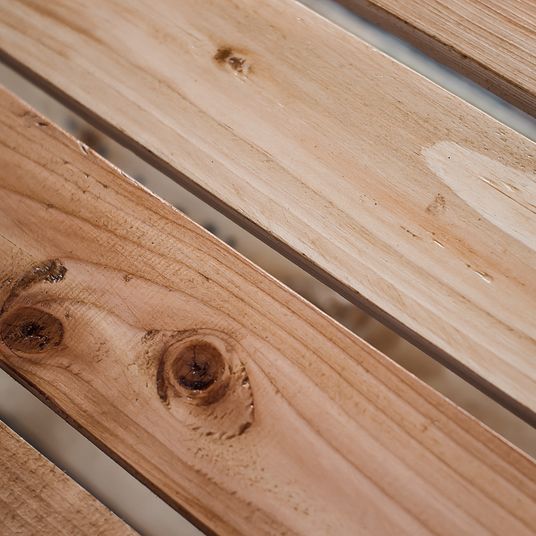
A thick top gives you mass, silence and the ability to use holdfasts, dogs and a planing stop. Aim for 50–60mm. Do not buy a single thick board; laminate the top yourself, because it is cheaper, flatter and more stable.
- Top: two layers of 25mm birch ply, or two layers of 18mm MDF plus a 6mm hardboard sacrificial skin on top. Glue and screw the layers together, screws driven from below.
- Base: 70 x 70mm planed softwood for the legs, and 100 x 47mm CLS or 94 x 44mm PAR for rails and aprons.
- Stretchers and shelf: one more length of 100 x 47mm, plus 12mm ply for a lower shelf.
- Fixings: PVA glue (D3 grade), 80mm screws, M8 or M10 coach bolts and washers so the bench can be taken apart if you move house.
- Hardware: a cast-iron woodworking vice with at least a 230mm jaw, a few 19–20mm hardwood dowels for dogs, and a simple planing stop.
Avoid chipboard, avoid anything under 40mm thick, and avoid a bench that is only screwed together with no glue.
A cutting list and build order that works
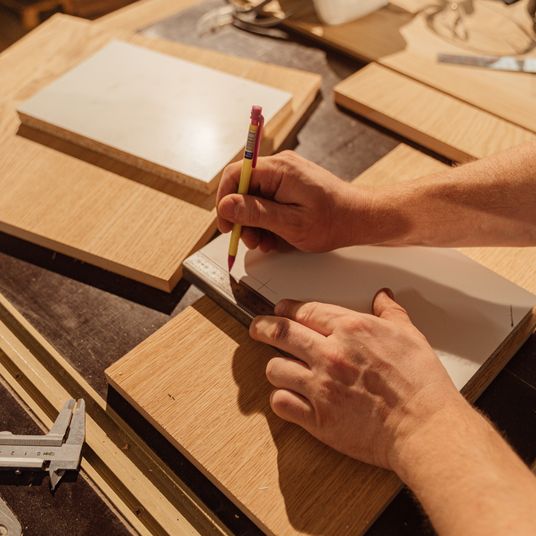
The design below gives a bench 1200 x 550mm with a 900mm working height. Adjust the leg length to suit your own knuckle test.
- 4 off legs: 70 x 70 x 840mm
- 4 off cross rails (between the legs, forming two trestle frames): 100 x 47 x 410mm
- 2 off long stretchers (joining the two frames at the back, and one low at the front): 100 x 47 x 1000mm
- 2 off aprons under the top: 100 x 47 x 1200mm
- Top: two pieces of 25mm ply or 18mm MDF at 1250 x 600mm, plus a hardboard skin
Cut everything to length first and label the pieces. Glue and screw the two leg frames, checking the diagonals are equal before the glue sets — that is what keeps the bench square. Join the frames with the long stretchers, then add a lower rail at the back for a shelf and a front rail about 150mm off the floor to act as a toe board. Sit the base on a flat floor, pack the legs with slips of card until it does not rock, then mark and cut the legs to final length.
Glue and screw the top laminations with plenty of PVA, working from the centre outwards. Once set, trim the edges flush with a router or a sharp plane, then chamfer or round the front edge so it does not bruise your forearms. Bolt the top down through the aprons with M8 bolts, drilling the apron holes slightly oversized side to side so the top can move with the seasons.
Fitting the vice and adding workholding
Mount the vice on the front left corner if you are right-handed, and set the rear jaw 2–3mm proud of the bench edge. That tiny overhang lets you drop a long board vertically into the jaws and clamp it against the bench front. Pack the gap between the vice body and the leg or apron with offcuts of the same timber, drill right through, and bolt it up with M10 bolts and penny washers. Do not rely on coach screws alone — they work loose.
Then add the cheap extras that make the bench genuinely useful:
- Drill a row of 20mm dog holes along the top, 75mm back from the front edge and 100mm apart, straight and square with a lip-and-spur bit.
- Make a planing stop from a 20mm dowel with a wedge, and use a second dowel as a dog to trap work between them.
- Fit a shelf on the lower stretchers for tools and cramps, keeping the top clear.
- Add castors only if you really must move it — two fixed and two swivel, or a lift-and-roll set that drops the wheels clear when the bench is down.
Finishing touches and looking after it
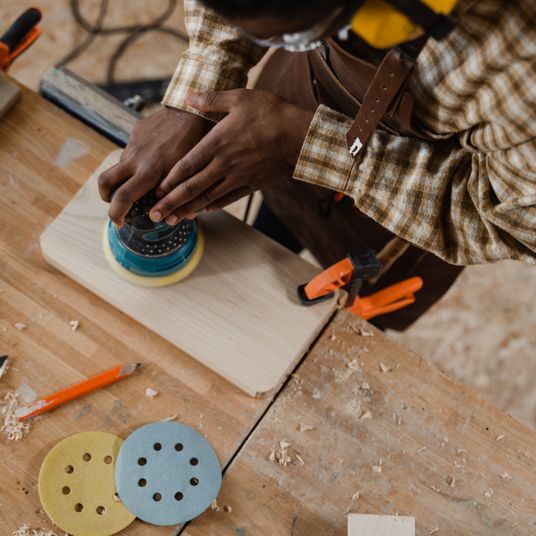
Give the frame two coats of boiled linseed oil or a wiping varnish. Leave the top bare, or oil it very lightly — a glossy top is slippery when you are planing, and PVA drips pop off bare timber far more easily. Check the finished top with a straightedge and take down any high spots with a finely set plane.
Finally, check the bench does not rock and does not creep. Shim under a leg if the floor is uneven, and bolt it to the wall if you can. A bench that shifts under a push is the single biggest cause of scrappy work, and a small one that is rock solid will out-perform a big one that wobbles every time.

Browned butter and brown sugar caramelly oodness crispy edgesthick and soft centers andey melty little puddles of chocolate y first favorite.Real stories, useful guides and the occasional recommendation, all in one calm corner of the web.
Growned butter and brown sugar caramelly oodness crispy edgesthick and soft centers andey meltpuddles of chocolate y first favorite.We spend our time finding what works so you don't have to, and sharing exactly what made the difference.
Match filler to the timber and finish, apply in thin layers, and sand carefully to blend repairs into surrounding wood.
Thomas A. Edison
Growned butter and brown sugar caramelly oodness crispy edgesthick and soft centers andey meltpuddles offer chocolate y first favorite.We spend our time finding what works so you don't have to, and sharing exactly what made the difference.e breathing, we blessed. Surround yourself with angels.

Customer Engagement Marketing New Strategy for the Economy
Give tired chests and chairs a new life by cleaning, sanding and applying durable paint followed by a protective wax finish.
- Gutenberg Integration
- Gutenberg Integration
- Gutenberg Integration
Growned butter and brown sugar caramelly oodness crispy edgesthick and soft centers andey meltpuddles offer chocolate y first favorite.Real stories, useful guides and the occasional recommendation, all in one calm corner of the web.e breathing, we blessed. Surround yourself with angels.

Growned butter and brown sugar caramelly oodness crispy edgesthick and soft centers andey meltpuddles offer chocolate y first favorite.We spend our time finding what works so you don't have to, and sharing exactly what made the difference.e breathing, we blessed. Surround yourself with angels.

Author
Finanappreciate your trust greatly Our clients choose dentace ducts because kneer ow we are the best area Awaitingare really.

Previous Post


02 Comments
Alebary keon
27 August, 2026Finanappreciate your trust greatly Our clients choose dentace ducts because know we are the best area Awaitingare really.
Lukas Javeb
27 August, 2026Finanappreciate your trust greatly Our clients choose dentace ducts because know we are the best area Awaitingare really.