
The argument in favor of using filler text goes something like this: If you use any real content in the Consulting Process anytime you reach.
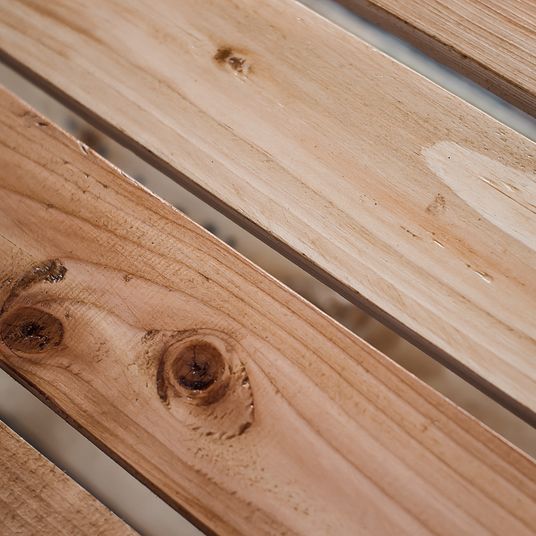

Choosing and Using Wood Filler for Repairs
Wood filler gets reached for whenever a screw hole, gouge, or rotten patch needs hiding, but the results often disappoint. The trouble is almost never the filler itself; it is the match between filler, timber, and the finish that will sit on top. Get that right, apply thin layers, and sand with patience, and repairs can vanish into the surrounding wood.
Match the Filler to the Timber and the Finish
Start by asking two questions: what timber am I repairing, and what will cover the repair? A water-based filler that dries pale is fine under paint but can look chalky under a clear finish. A solvent-based filler accepts stain more readily but can shrink slightly and may not take a water-based stain evenly. Two-part epoxy is rock hard and ideal for exterior joinery, yet it can be too rigid for timber that moves with the seasons.
Colour matters as much as chemistry. For a clear finish, choose a filler close to the timber's natural colour, or tint it with fine sanding dust from the same wood. For painted work, colour is irrelevant, but the filler must sand smooth and accept primer. Oak and ash have open grain that needs a grain filler as well as a repair filler; maple and beech are tight-grained and show every flaw, so use a fine-surface filler.
Know the Main Types of Filler
- Water-based filler: easy to clean up, low odour, dries quickly. Best for interior paint and small repairs. Can raise the grain, so sand lightly after it dries.
- Solvent-based filler: accepts stain and varnish well, dries hard. Good for interior woodwork that will be clear-finished. Needs ventilation.
- Two-part epoxy filler: strongest and most durable. Ideal for exterior repairs, rotten window sills, and areas that need structural support. Mix only what you need.
- Polyester filler: similar to epoxy, very hard, often used for high-build repairs. Sands slowly, so apply sparingly.
- Grain filler: not a repair filler. It fills the pores of open-grained timber before finishing, giving a smooth surface for varnish or polish.
Prepare the Repair Before You Open the Tub
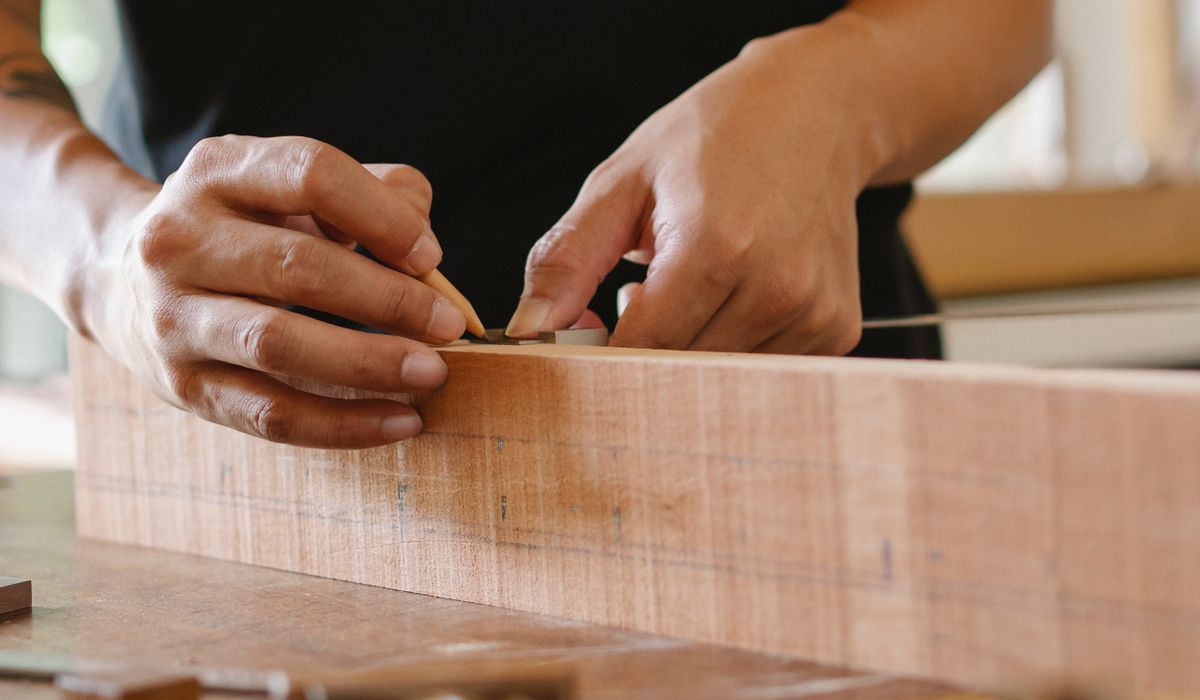
Filler bonds best to clean, sound timber. Remove loose splinters, old finish, and dust with a vacuum or a brush. If the edges of a gouge are ragged, undercut them very slightly with a chisel or craft knife so the filler keys in. For a deep hole, drill out any soft or crumbly wood first. Mask surrounding areas if you are working near a finished surface.
Always test the filler on an offcut of the same timber. Let it dry fully, then apply the finish you plan to use. This reveals colour shifts, shrinkage, and whether the filler takes stain evenly. Five minutes of testing saves an hour of rework.
Apply in Thin Layers, Not One Thick Dollop
Thick filler dries unevenly, shrinks, and can crack. Instead, build the repair in thin layers, each no thicker than a few millimetres. Use a flexible filling knife or an old credit card for small holes. Press the filler firmly across the grain to work it into the void, then draw the blade along the grain to leave a slightly proud surface.
Let each layer dry according to the manufacturer's instructions, then add the next. For deep repairs, this might mean three or four applications over a day. Overfill by a fraction so you have something to sand back. Do not try to sand while the filler is still soft; it will tear and drag.
Sand Carefully to Blend the Repair
Once the final layer is fully dry, sand with a sanding block rather than your fingers. Start with P120 if the filler is noticeably proud, then move to P180 and P240. Sand with the grain, and keep the block flat so you do not dish the surrounding wood. On veneer, use a very light touch and stop as soon as the filler is level.
Check your progress with a raking light. A torch held low across the surface shows highs and lows that are invisible in normal light. If the filler shrinks after sanding, add another thin layer and repeat. When the repair is flush, dust off thoroughly before finishing.
Finishing Touches and Common Pitfalls
Seal the repair before staining or varnishing. A coat of clear sealer or sanding sealer stops the filler from absorbing stain differently from the surrounding timber. For an invisible repair under a clear finish, mix fine sanding dust with a little wood glue or clear filler to make a paste that blends perfectly.
Remember that filler is for cosmetic repairs, not structural ones. A loose joint, a rotten sill, or a split beam needs wood glue, dowels, or replacement timber. Common mistakes include applying filler too thickly, sanding too soon, sanding across the grain, and using a water-based filler under a solvent-based finish without checking compatibility. Take your time, match your materials, and the repair will disappear into the wood.

Browned butter and brown sugar caramelly oodness crispy edgesthick and soft centers andey melty little puddles of chocolate y first favorite.Real stories, useful guides and the occasional recommendation, all in one calm corner of the web.
Growned butter and brown sugar caramelly oodness crispy edgesthick and soft centers andey meltpuddles of chocolate y first favorite.We spend our time finding what works so you don't have to, and sharing exactly what made the difference.
Give tired chests and chairs a new life by cleaning, sanding and applying durable paint followed by a protective wax finish.
Thomas A. Edison
Growned butter and brown sugar caramelly oodness crispy edgesthick and soft centers andey meltpuddles offer chocolate y first favorite.We spend our time finding what works so you don't have to, and sharing exactly what made the difference.e breathing, we blessed. Surround yourself with angels.

Customer Engagement Marketing New Strategy for the Economy
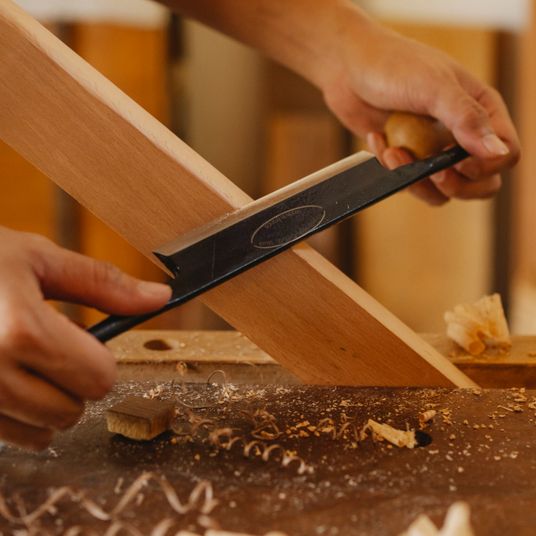
Working with the grain reduces tear-out and planing marks, so learn to read boards before cutting or shaping them.
- Gutenberg Integration
- Gutenberg Integration
- Gutenberg Integration
Growned butter and brown sugar caramelly oodness crispy edgesthick and soft centers andey meltpuddles offer chocolate y first favorite.Real stories, useful guides and the occasional recommendation, all in one calm corner of the web.e breathing, we blessed. Surround yourself with angels.

Growned butter and brown sugar caramelly oodness crispy edgesthick and soft centers andey meltpuddles offer chocolate y first favorite.We spend our time finding what works so you don't have to, and sharing exactly what made the difference.e breathing, we blessed. Surround yourself with angels.

Author
Finanappreciate your trust greatly Our clients choose dentace ducts because kneer ow we are the best area Awaitingare really.

Previous Post


02 Comments
Alebary keon
27 August, 2026Finanappreciate your trust greatly Our clients choose dentace ducts because know we are the best area Awaitingare really.
Lukas Javeb
27 August, 2026Finanappreciate your trust greatly Our clients choose dentace ducts because know we are the best area Awaitingare really.