
The argument in favor of using filler text goes something like this: If you use any real content in the Consulting Process anytime you reach.
Making a Rustic Chopping Board from Scrap Wood
Why Offcuts Make Excellent Chopping Boards
Every workshop ends up with a box of short, awkward lengths that are too good to burn and too small for anything else. A chopping board is one of the best homes for them, because you need narrow strips rather than long, flawless boards. The mix of colours and grain patterns that would look like a mistake in a piece of furniture becomes the whole character of the finished board.
This is an edge-grain board rather than an end-grain butcher's block, so it is far quicker to build, needs fewer clamps and stands up perfectly well to daily kitchen use. A finished board of roughly 400mm by 250mm by 40mm will take about an hour of actual work, spread across a couple of days while glue and oil cure.
Choosing the Right Timber
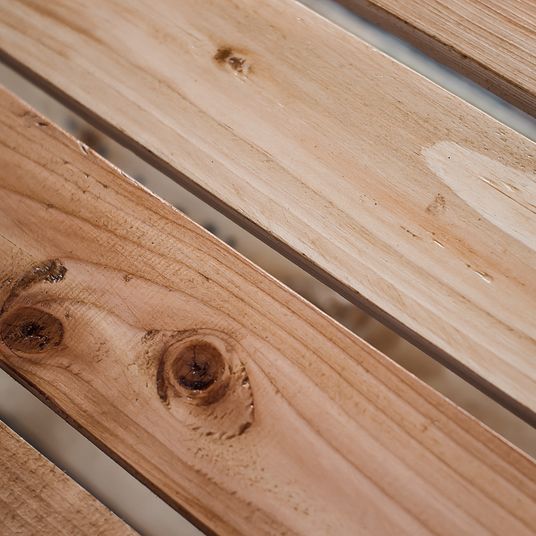
Food safety starts with the wood itself. Stick to close-grained, non-toxic hardwoods: beech, maple, ash, sycamore, birch, cherry, walnut and oak are all sound choices. Avoid softwoods such as pine and spruce, which dent and splinter under a knife, and steer clear of anything painted, stained, pressure-treated or stored outdoors. Pallet wood is tempting, but unless you know exactly what has been stacked on it, leave it alone.
Moisture content matters just as much. Kiln-dried offcuts from indoor projects are ideal. If your timber has been sitting in a cold garage or shed, bring it indoors for a week or two before gluing, otherwise the finished board may cup or split as it settles. Aim for pieces at least 20mm thick and with square-ish edges you can true up.
Preparing and Gluing the Blank
Decide on your strip width first. Anything between 25mm and 45mm looks good and glues up flat; very narrow strips multiply your glue lines and your clamping time. Work through these steps before you open the glue:
- Square one edge of every strip on the planer or with a hand plane, then rip them to consistent width.
- Cut all strips to the same length, allowing 10mm extra at each end for trimming later.
- Lay them out and shuffle them until the colours and grain sit in a pleasing rhythm. Photograph the arrangement so you can rebuild it after glue-up.
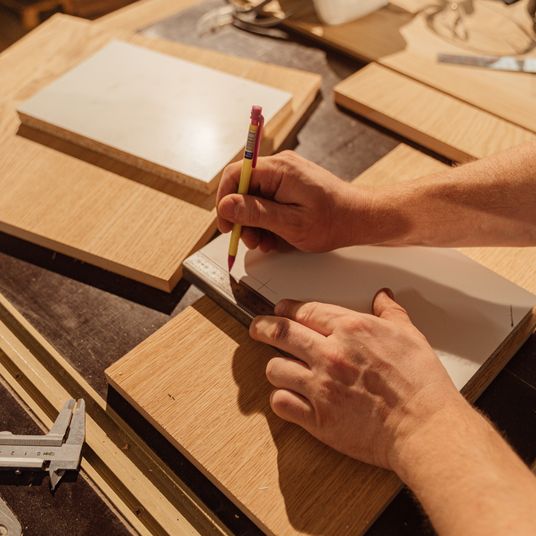
- Mark the top face of each strip with a pencil line so you do not lose the pattern.
Use a waterproof PVA rated D3 or D4, as these are suitable for kitchen conditions. Spread a thin, even coat on both faces of every joint — a small foam roller is quicker than a brush — and keep the glue back from the edges so it does not squeeze into the grain. Clamp every 150mm or so, using offcuts as cauls top and bottom to spread the pressure evenly, and check the blank is flat with a straight edge while the clamps are still loose. Wipe away squeeze-out with a damp cloth, then leave it alone for a full 24 hours.
Shaping and Levelling
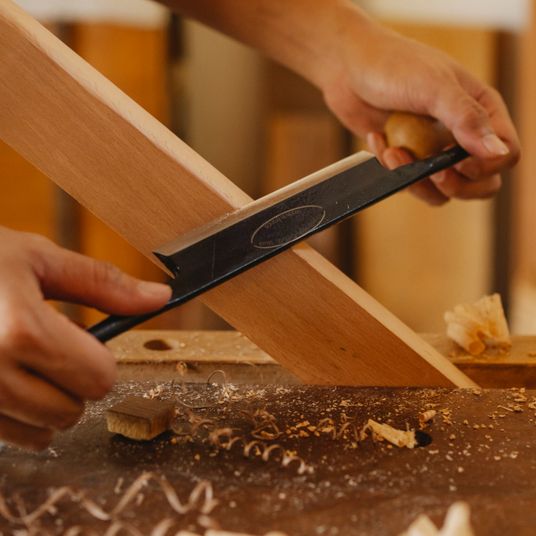
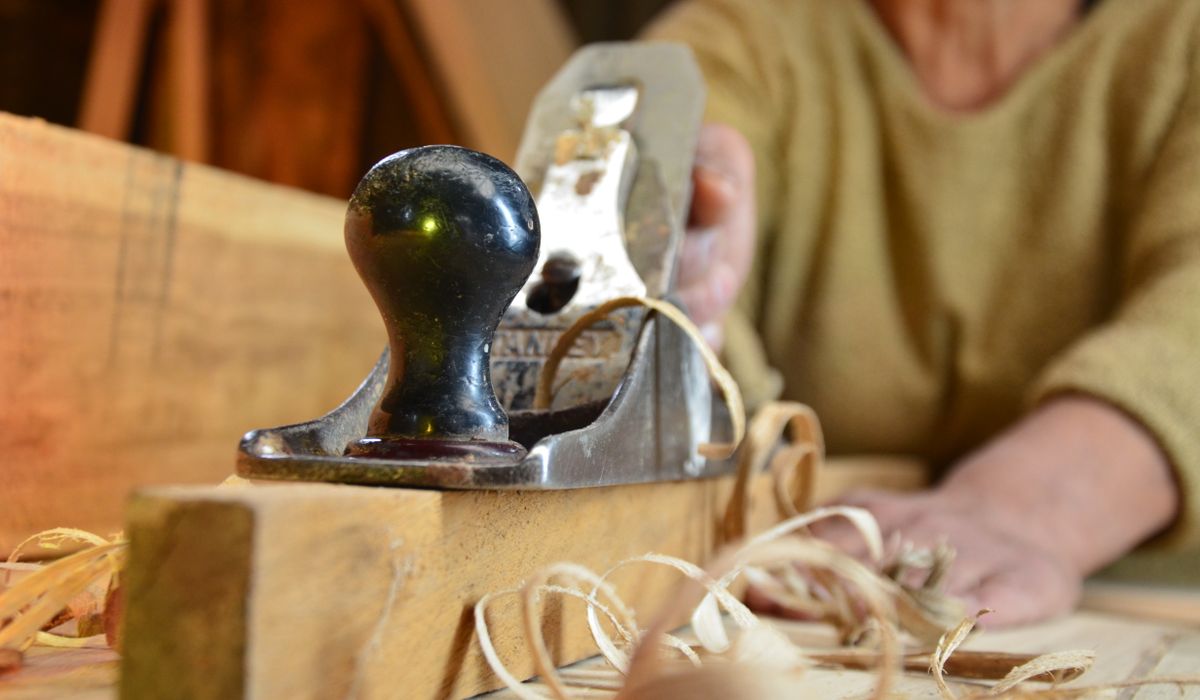
Once the clamps come off, clean up the squeeze-out with a cabinet scraper or a sharp plane, working with the grain so you do not tear out the softer strips. Trim the ends square on the mitre saw or by hand, then flatten both faces. A belt sander makes short work of any slight misalignment, but a hand plane followed by a sanding block gives you more control and a flatter result.
Round the long edges with a 6mm roundover bit in the router, or plane and sand a chamfer if you prefer a hand-tooled look. Break the sharp edges on the underside too — your fingers will thank you when you lift a wet board. Finally, bore a 25mm finger hole in one corner, positioned at least 25mm in from the edges so it does not weaken the surrounding timber.
Sanding and Oiling
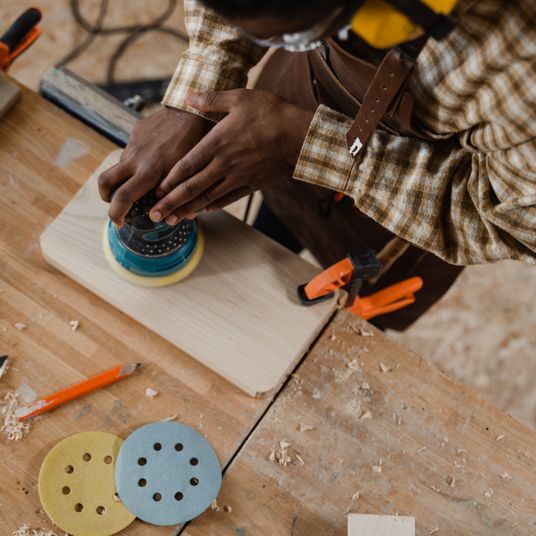
Sand progressively through 80, 120, 180 and 240 grit, vacuuming the dust off between each pass so you are not grinding old grit into fresh scratches. Wipe the board with a damp cloth after 180 grit, let it dry, then sand again with 240 — this raises the grain so the final surface stays smooth once it gets wet in the sink. Rinse the dust off with a cloth dampened with white spirit and let it dry completely.
For the finish, liquid paraffin BP from the chemist is cheap, tasteless, odourless and completely food safe. Warm a little in a jam jar stood in hot water, apply it generously with a lint-free cloth, and leave it for 20 minutes. Wipe off the excess and repeat daily until the wood stops drinking — usually three or four coats. Finish with a paste of four parts liquid paraffin to one part beeswax, warmed and rubbed in, then buffed. Never use olive oil or cooking oil; they turn rancid in the grain.
Looking After Your Board
Treat a wooden board as a piece of joinery, not a kitchen utensil. Wash it by hand in hot soapy water, dry it straight away and stand it on edge so air reaches both faces. Never put it in a dishwasher or leave it soaking. Re-oil it once a month, or whenever it looks pale and thirsty, and refresh the surface with a light pass of 240 grit if it picks up knife marks. Looked after properly, a board glued up from scraps will outlast most things you could buy, and it will look better with every year.

Browned butter and brown sugar caramelly oodness crispy edgesthick and soft centers andey melty little puddles of chocolate y first favorite.Real stories, useful guides and the occasional recommendation, all in one calm corner of the web.
Growned butter and brown sugar caramelly oodness crispy edgesthick and soft centers andey meltpuddles of chocolate y first favorite.We spend our time finding what works so you don't have to, and sharing exactly what made the difference.
A router is versatile but demanding, so practise on scrap, use sharp bits and always feed against the rotation.
Thomas A. Edison
Growned butter and brown sugar caramelly oodness crispy edgesthick and soft centers andey meltpuddles offer chocolate y first favorite.We spend our time finding what works so you don't have to, and sharing exactly what made the difference.e breathing, we blessed. Surround yourself with angels.

Customer Engagement Marketing New Strategy for the Economy
Cleaning old glue and injecting fresh adhesive can tighten wobbly chairs while preserving their original finish and charm.
- Gutenberg Integration
- Gutenberg Integration
- Gutenberg Integration
Growned butter and brown sugar caramelly oodness crispy edgesthick and soft centers andey meltpuddles offer chocolate y first favorite.Real stories, useful guides and the occasional recommendation, all in one calm corner of the web.e breathing, we blessed. Surround yourself with angels.

Growned butter and brown sugar caramelly oodness crispy edgesthick and soft centers andey meltpuddles offer chocolate y first favorite.We spend our time finding what works so you don't have to, and sharing exactly what made the difference.e breathing, we blessed. Surround yourself with angels.

Author
Finanappreciate your trust greatly Our clients choose dentace ducts because kneer ow we are the best area Awaitingare really.

Previous Post


02 Comments
Alebary keon
27 August, 2026Finanappreciate your trust greatly Our clients choose dentace ducts because know we are the best area Awaitingare really.
Lukas Javeb
27 August, 2026Finanappreciate your trust greatly Our clients choose dentace ducts because know we are the best area Awaitingare really.