
The argument in favor of using filler text goes something like this: If you use any real content in the Consulting Process anytime you reach.
Building a Simple Garden Bench for Beginners
Why a Simple Garden Bench Is a Great First Project
A garden bench is one of those projects that rewards you every time you step outside. It is straightforward enough for a beginner, yet it teaches you the fundamentals of measuring, cutting, and joining timber. You do not need a workshop full of expensive machinery. A basic toolkit and a free weekend are enough to produce a sturdy, comfortable seat that will last for years. The secret lies in choosing the right materials and taking your time with the assembly.
Choosing Weather-Resistant Timber and Galvanised Fixings
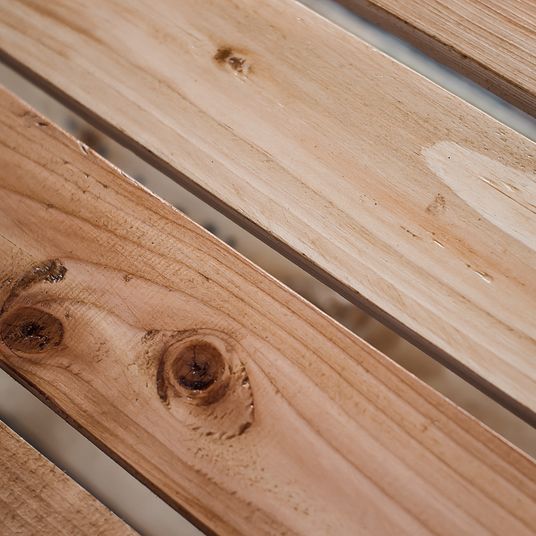
The British weather is unforgiving, so your bench must be built from timber that can cope with rain, frost, and sunshine. Pressure-treated softwood is the most practical choice for beginners. It is affordable, widely available, and already protected against rot and insects. If your budget allows, cedar, oak, or iroko are naturally durable, but they cost more and can be harder to work with. Whatever you choose, avoid untreated timber — it will not last a single season.
Fixings matter just as much as the wood. Ordinary steel screws will rust and stain the timber, eventually weakening the joints. Use galvanised or stainless steel screws, bolts, and washers. Galvanised fixings are ideal for treated softwood and offer excellent corrosion resistance at a reasonable price. For added strength, use coach bolts for the main frame connections. Always pre-drill your holes to prevent the timber from splitting, especially near the ends of boards.
Tools and Materials You Will Need
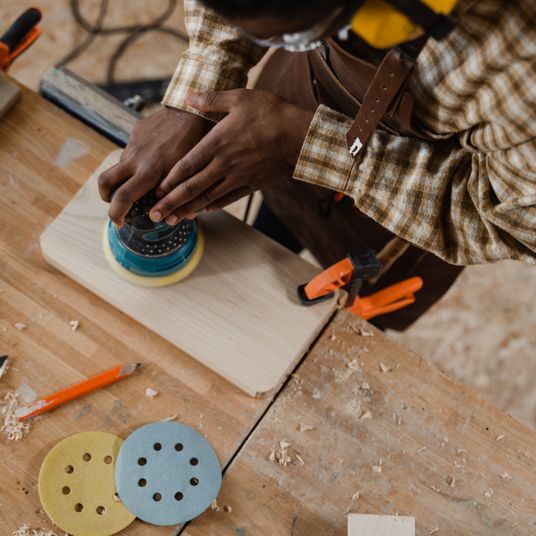
Gather everything before you start. For tools, you will need a tape measure, pencil, carpenter's square, hand saw or circular saw, cordless drill, 8mm drill bit, countersink bit, adjustable spanner, and sandpaper (medium and fine grit). A workbench or two sturdy trestles will make cutting and assembly much safer.
For materials, this bench is designed to be about 1.2 metres long, 45 centimetres deep, and 90 centimetres high at the back. You will need:
- 2 lengths of 100mm x 50mm treated timber, 2.4m long (for legs and seat rails)
- 3 lengths of 100mm x 25mm treated timber, 2.4m long (for seat and backrest slats)
- 1 length of 50mm x 50mm treated timber, 2.4m long (for side rails and bracing)
- 50 galvanised screws, 5mm x 80mm
- 8 galvanised coach bolts, 8mm x 100mm, with washers and nuts
- Exterior wood stain or oil
- Wood glue (exterior grade)
Cutting and Assembling the Leg Frames
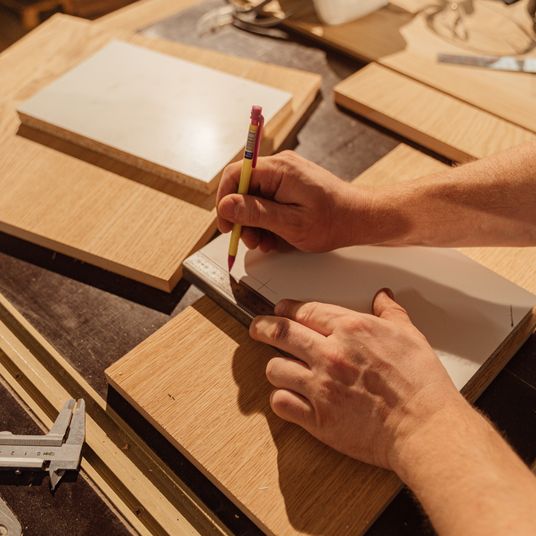
Start by cutting your timber to length. From the 100mm x 50mm stock, cut four front legs at 450mm, two back legs at 900mm, two front and back seat rails at 1200mm, and two side seat rails at 400mm. From the 50mm x 50mm stock, cut four side braces at 400mm. From the 100mm x 25mm stock, cut five seat slats and three backrest slats, all at 1200mm. Sand all cut ends.
Build the two side frames first. Lay one front leg and one back leg flat on your workbench, with the back leg's top extending 450mm above the front leg. Position a side seat rail (400mm) between them so its top edge is 450mm from the bottom of the legs. Apply exterior wood glue to the joints, then drill and screw through the legs into the rail using two 80mm screws per joint. Add a side brace lower down, about 150mm from the bottom, for rigidity. Repeat for the second side frame.
Now stand the two frames upright and connect them with the front and back seat rails (1200mm). Use coach bolts here: drill 8mm holes through the rails and legs, insert the bolts, and tighten with a spanner. This creates a strong, wobble-free base.
Fitting the Seat and Backrest
Lay the five seat slats across the front and back seat rails. Space them evenly with a 5mm gap between each slat to allow rainwater to drain. Pre-drill and screw each slat down with two 80mm galvanised screws per end. Check that the slats overhang the front rail slightly for a comfortable seating edge.
For the backrest, screw the three 1200mm slats horizontally between the two back legs. Position the lowest slat about 450mm above the seat, the middle at 600mm, and the top at 750mm. Pre-drill every hole to avoid splitting. If you prefer a more comfortable curve, you can plane a slight chamfer on the front edge of each backrest slat before fitting. Once assembled, give the whole bench a final sanding, paying attention to any sharp edges.
Finishing and Protecting Your Bench
A good finish is what turns a functional bench into one that lasts. Apply two generous coats of exterior wood stain or a penetrating oil such as teak oil. This protects the timber from UV rays and moisture while enhancing its natural grain. Allow at least 24 hours between coats and check the manufacturer's instructions for drying times. Avoid painting the bench unless you use a flexible exterior paint, as solid paint can trap moisture and lead to rot.
Place your bench on a level, well-drained surface such as paving slabs or gravel. If it sits on soil, treat the bottom of the legs with an extra coat of preservative. Check the fixings after a few weeks and tighten any bolts that have settled. Reapply oil or stain annually, ideally in early spring, to keep the timber in top condition. With minimal care, this simple bench will give you years of comfortable seating in the garden.

Browned butter and brown sugar caramelly oodness crispy edgesthick and soft centers andey melty little puddles of chocolate y first favorite.Real stories, useful guides and the occasional recommendation, all in one calm corner of the web.
Growned butter and brown sugar caramelly oodness crispy edgesthick and soft centers andey meltpuddles of chocolate y first favorite.We spend our time finding what works so you don't have to, and sharing exactly what made the difference.
Wall racks, drawers and labelled containers keep tools accessible, protected from rust and ready for the next project.
Thomas A. Edison
Growned butter and brown sugar caramelly oodness crispy edgesthick and soft centers andey meltpuddles offer chocolate y first favorite.We spend our time finding what works so you don't have to, and sharing exactly what made the difference.e breathing, we blessed. Surround yourself with angels.

Customer Engagement Marketing New Strategy for the Economy
From butt joints to mortise and tenon, each method offers different strength, difficulty and visual appeal for furniture.
- Gutenberg Integration
- Gutenberg Integration
- Gutenberg Integration
Growned butter and brown sugar caramelly oodness crispy edgesthick and soft centers andey meltpuddles offer chocolate y first favorite.Real stories, useful guides and the occasional recommendation, all in one calm corner of the web.e breathing, we blessed. Surround yourself with angels.

Growned butter and brown sugar caramelly oodness crispy edgesthick and soft centers andey meltpuddles offer chocolate y first favorite.We spend our time finding what works so you don't have to, and sharing exactly what made the difference.e breathing, we blessed. Surround yourself with angels.

Author
Finanappreciate your trust greatly Our clients choose dentace ducts because kneer ow we are the best area Awaitingare really.

Previous Post


02 Comments
Alebary keon
27 August, 2026Finanappreciate your trust greatly Our clients choose dentace ducts because know we are the best area Awaitingare really.
Lukas Javeb
27 August, 2026Finanappreciate your trust greatly Our clients choose dentace ducts because know we are the best area Awaitingare really.