
The argument in favor of using filler text goes something like this: If you use any real content in the Consulting Process anytime you reach.
Making a Small Oak Side Table from Scratch
There's something deeply satisfying about building a piece of furniture that earns its keep every day. A small oak side table is perfect for that. It's compact enough to sit beside a sofa or armchair, yet it teaches you the core skills of furniture making: accurate dimensioning, strong joints, and a clean finish. Because the design is simple, you can focus on getting the basics right rather than wrestling with complex curves or veneers.
Why Oak Makes a Forgiving Teacher
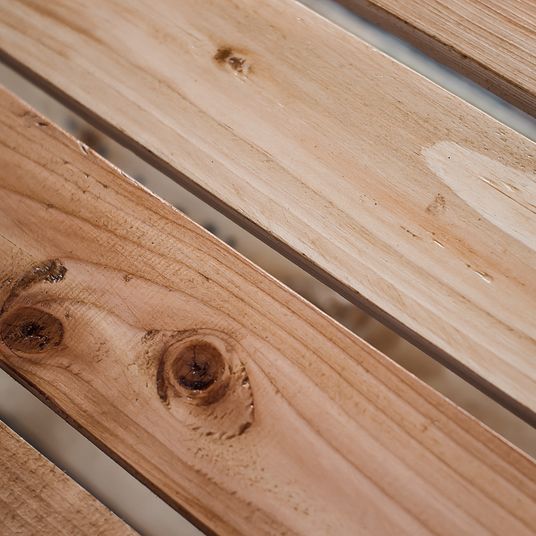
Oak is a traditional choice for good reason. It's hard, durable, and takes a crisp edge from a plane or chisel. For a first project, though, you want timber that behaves. Look for kiln-dried European or American oak, ideally 25mm thick for the top and 40mm square for the legs. Avoid boards with large knots or shakes. If you can, buy planed all round (PAR) timber to save time, but be prepared to true up the edges yourself. A small table like this uses very little material: roughly a metre of 25mm board and a metre and a half of 40mm square stock.
Tools and Timber You'll Need
You don't need a workshop full of machines. A few good hand tools will do the job, though a cordless drill and a random orbital sander make life easier.
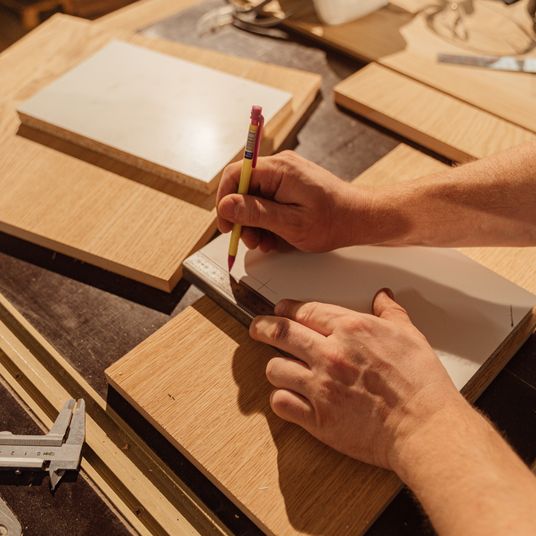
- Measuring and marking: steel rule, try square, marking gauge, pencil
- Cutting: tenon saw, crosscut saw, coping saw, sharp chisels (6mm, 12mm, 19mm)
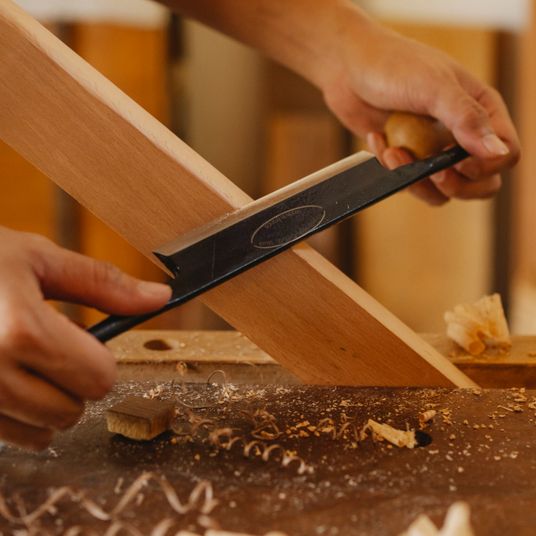
- Shaping: No. 4 or 5 bench plane, spokeshave (optional), sandpaper (120, 180, 240 grit)
- Assembly: mallet, sash clamps, wood glue, dowels or table buttons
- Finishing: Danish oil or hard wax oil, lint-free cloths
For the timber, you'll need: one top board 450mm x 350mm x 20mm, four legs 40mm x 40mm x 500mm, four aprons 350mm x 70mm x 20mm (two long, two short), and a few small blocks for corner braces if you like.
Dimensioning and Preparing the Parts
Start by cutting everything slightly oversize. Leave 5mm on the length and width of each part. Plane one face and one edge flat and square on every piece, then thickness to final size. For the legs, check they are all exactly the same length and that the ends are square. Small errors here will show up as a wobbly table. Mark the legs in pairs so you can keep the grain orientation consistent.
For the top, you can use a single board if it's wide enough, or glue up two narrower boards edge-to-edge. If you glue up, alternate the growth rings to keep the top flat. Once dry, flatten the top with your plane, working diagonally across the grain, then with the grain. Don't skip this step: a flat top is what makes the table feel solid.
Cutting the Mortise and Tenon Joints
The frame is held together with mortise and tenon joints. Each apron has a tenon on both ends that fits into a mortise cut into the leg. Mark the mortises on the legs: they should be centred on the leg's thickness, about 10mm wide and 40mm deep. Use a marking gauge to score the lines, then chop out the waste with a chisel. Work from both faces to avoid breakout. A sharp chisel and patience are your friends here.
Cut the tenons on the aprons with a tenon saw. The tenon should be a snug fit: you want to be able to push it in with hand pressure, not hammer it. If it's too tight, pare the cheeks with a chisel. If it's too loose, glue a thin veneer shim to the cheek. Aim for a shoulder that sits flush against the leg. Test-fit the whole frame dry before you go near the glue bottle.
Gluing Up the Frame and Attaching the Top
Glue-ups can be stressful, so dry-fit everything first and lay out your clamps. Apply a thin, even bead of glue to the tenon cheeks and shoulders. Assemble the two long aprons and one short apron into two legs, then add the remaining short apron. Check the frame for square by measuring diagonally from corner to corner: the two measurements should match. Clamp gently, not so tight that you squeeze out all the glue. Leave for at least an hour before handling.
Once the frame is dry, attach the top. A solid oak top needs to move with the seasons, so don't glue it down. Instead, use figure-eight fasteners or make small wooden buttons that screw to the top and slot into grooves in the aprons. This allows the wood to expand and contract without splitting. Centre the top on the frame, drill pilot holes, and secure with screws.
Finishing with Oil or Wax
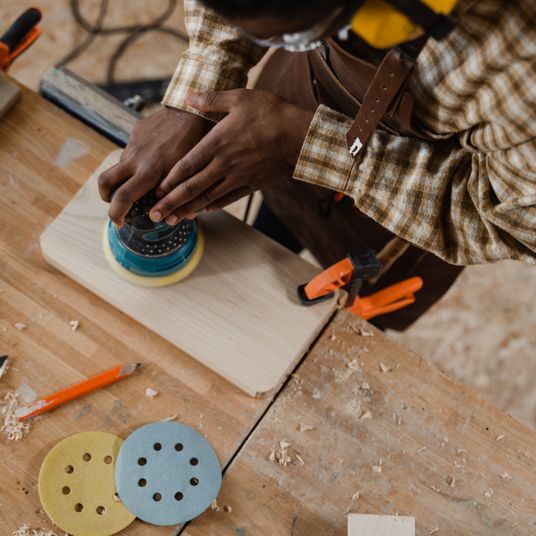
Sanding is the secret to a professional finish. Work through 120, 180, then 240 grit, always with the grain. Remove the dust with a vacuum and a tack cloth. For oak, a hard wax oil or Danish oil gives a warm, natural look that's easy to repair. Apply a thin coat with a cloth, leave it for 15 minutes, then wipe off the excess. Repeat three or four times, lightly sanding with 400 grit between coats. Let it cure for a few days before putting anything heavy on it.
Your table is now ready. It's small, sturdy, and made by your own hands. More importantly, you've practised measuring, planing, joint-cutting, and finishing: the same skills you'll use on every piece of furniture you build from here on.

Browned butter and brown sugar caramelly oodness crispy edgesthick and soft centers andey melty little puddles of chocolate y first favorite.Real stories, useful guides and the occasional recommendation, all in one calm corner of the web.
Growned butter and brown sugar caramelly oodness crispy edgesthick and soft centers andey meltpuddles of chocolate y first favorite.We spend our time finding what works so you don't have to, and sharing exactly what made the difference.
Steam, sanding and colour-matched fillers can often disguise minor surface damage without ruining the character of solid wood.
Thomas A. Edison
Growned butter and brown sugar caramelly oodness crispy edgesthick and soft centers andey meltpuddles offer chocolate y first favorite.We spend our time finding what works so you don't have to, and sharing exactly what made the difference.e breathing, we blessed. Surround yourself with angels.

Customer Engagement Marketing New Strategy for the Economy
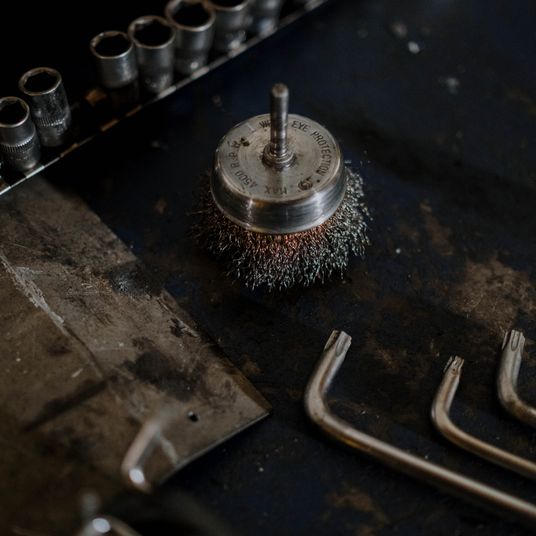
Grit sequence matters more than brand, so work through coarse to fine grades and remove dust between each stage.
- Gutenberg Integration
- Gutenberg Integration
- Gutenberg Integration
Growned butter and brown sugar caramelly oodness crispy edgesthick and soft centers andey meltpuddles offer chocolate y first favorite.Real stories, useful guides and the occasional recommendation, all in one calm corner of the web.e breathing, we blessed. Surround yourself with angels.

Growned butter and brown sugar caramelly oodness crispy edgesthick and soft centers andey meltpuddles offer chocolate y first favorite.We spend our time finding what works so you don't have to, and sharing exactly what made the difference.e breathing, we blessed. Surround yourself with angels.

Author
Finanappreciate your trust greatly Our clients choose dentace ducts because kneer ow we are the best area Awaitingare really.

Previous Post


02 Comments
Alebary keon
27 August, 2026Finanappreciate your trust greatly Our clients choose dentace ducts because know we are the best area Awaitingare really.
Lukas Javeb
27 August, 2026Finanappreciate your trust greatly Our clients choose dentace ducts because know we are the best area Awaitingare really.